Documentation Index
Fetch the complete documentation index at: https://docs.vern.so/llms.txt
Use this file to discover all available pages before exploring further.
Quick Start: Using @ to Reference Columns
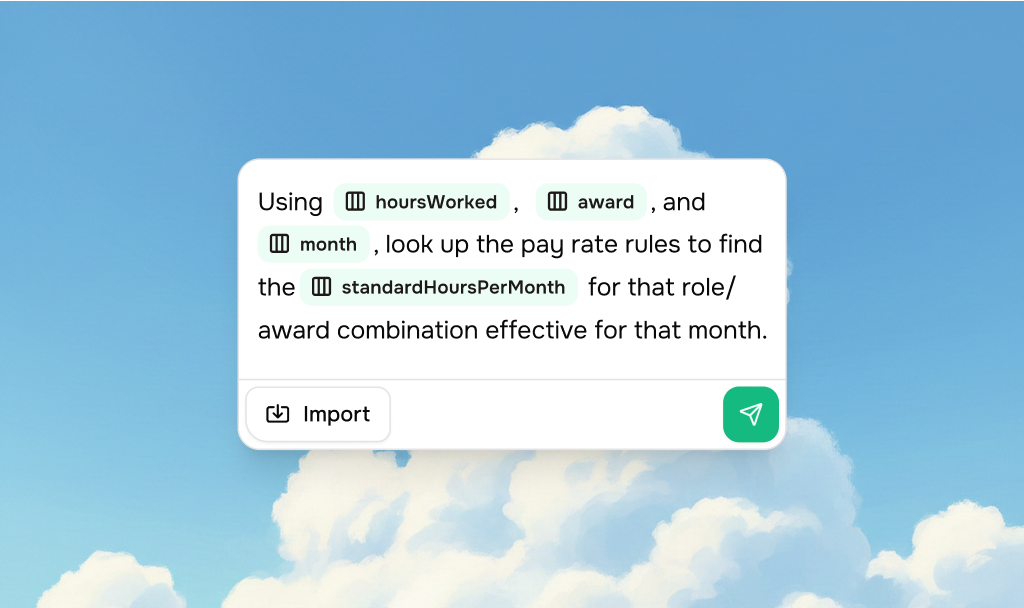
The easiest way to tell the assistant which columns to work with is to type@ followed by the column name.
When you type @ and start typing a column name, you’ll see a list of matching columns in the workbook (from the current and other sheets). Just click on the one you want, or hit enter to add it to the AI’s context.
Common Tasks & Examples
1. Fixing Format Issues
When to use: Your data has inconsistent formatting, extra characters, or needs to match a specific pattern. Examples:Fix the format of @Phone NumberRemove all dashes from @NRICStandardize @Email addressesClean up @Address - remove extra spacesMake @Date of Birth all the same format
2. Combining Columns
When to use: You want to merge two or more columns into one (like combining First Name and Last Name into Full Name). Examples:Combine @First Name and @Last Name into @Full NameJoin @Street, @City, and @State into @Full AddressMerge @Area Code and @Phone Number into @Complete Phone
3. Splitting Columns
When to use: One column contains multiple pieces of information that should be separate (like “John Smith” that should be “John” and “Smith”). Example:Split @Full Name into @First Name and @Last Name
4. Calculating Values
When to use: You need to do math with your data (multiply, add, subtract, divide). Examples:Calculate @Total by multiplying @Hours times @RateAdd @Base Salary and @Bonus to get @Total CompensationCalculate @Discount Price as @Original Price minus @Discount AmountMultiply @Quantity by @Unit Price to fill @Line Total
5. Working with Dates
When to use: You need to calculate ages, add/subtract days, or fill in today’s date. Example:Calculate age from @Date of Birth and put it in @Age
6. Looking up values from other sheets
When to use: You have data in one sheet and want to bring in related information from another sheet - for example, copying a price, status, or category based on a matching ID. How to reference columns: Type@ and select a column from the list.
Example prompt:
Match @Payroll ID with @payrollId, then copy @frequency into @Frequency
7. Extracting Information
When to use: You have a column with free text (like notes or descriptions) and want to pull out specific information. Examples:Extract allergy information from @Notes and put it in @AllergiesPull out phone numbers from @Description into @Contact PhoneFind email addresses in @Comments and extract them to @Email
8. Categorizing or Classifying Data
When to use: You want to automatically group or categorize your data based on patterns. Examples:Classify @Job Title into @Department (Engineering, Marketing, Sales, etc.)Categorize @Product Description into @Product TypeDetermine @Priority Level from @Issue Description
9. Converting Formats
When to use: You need to change data from one format to another (like dates, currencies, or units). Examples:Convert @Date from MM/DD/YYYY to YYYY-MM-DD formatConvert @Amount from USD to EUR using @rate (Exchange Rates)
10. Formatting Text
When to use: You want to change how text looks (capitalization, padding, trimming). Example:Capitalize the first letter of each word in @Full Name
11. Deleting or Clearing Data
When to use: You want to remove values from a column (either all values or specific ones). Examples:Delete all values in @NotesClear @Status column
Tips for Best Results
Be Specific
✅ Good:Fix the format of @Phone Number to include dashes
❌ Vague: Fix phone numbers
Use Column References
✅ Good:Combine @First Name and @Last Name into @Full Name
❌ Less clear: Combine first and last name
Mention Both Source and Target Columns
✅ Good:Extract allergies from @Notes and put them in @Allergies
❌ Less clear: Extract allergies
Use Templates for Better Results
Make sure your Workbook sheets have Templates assigned. Chat uses Template descriptions and validation rules to better understand your data and provide more accurate suggestions.What If Something Goes Wrong?
If the assistant doesn’t understand your request:- Be more specific - Add more details about what you want
- Use column references - Type
@and select the exact columns - Break it into steps - Try doing one thing at a time
- Check your column names - Make sure the columns you’re referencing actually exist
Need Help?
If you’re not sure how to phrase something, try:- Describing what you want in plain English
- Mentioning the column names using
@ - Being specific about the result you want
Next Steps
Now that you know how to write effective prompts, try using Chat in your Workbooks:- Clean your customer’s messy data - Step-by-step guide to using Chat
- Calculate values across sheets - Learn about cross-sheet calculations
- Chat documentation - Learn more about Chat capabilities